
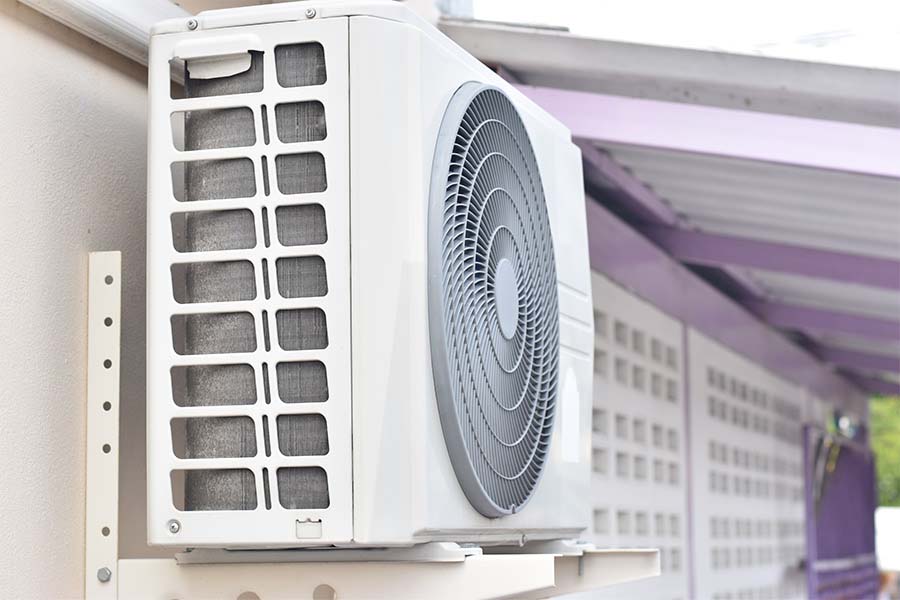
Homeowners considering a ductless system often have a general sense of the benefits but less clarity on what the actual installation involves. In our experience completing ductless mini-split installations across Indianapolis, the process is notably less disruptive than a full central system installation, but it still involves real planning, skilled technical work, and a few decisions that shape how well the system performs long-term. Here is what to expect from start to finish.
What Is a Mini Split System and How Does It Work?
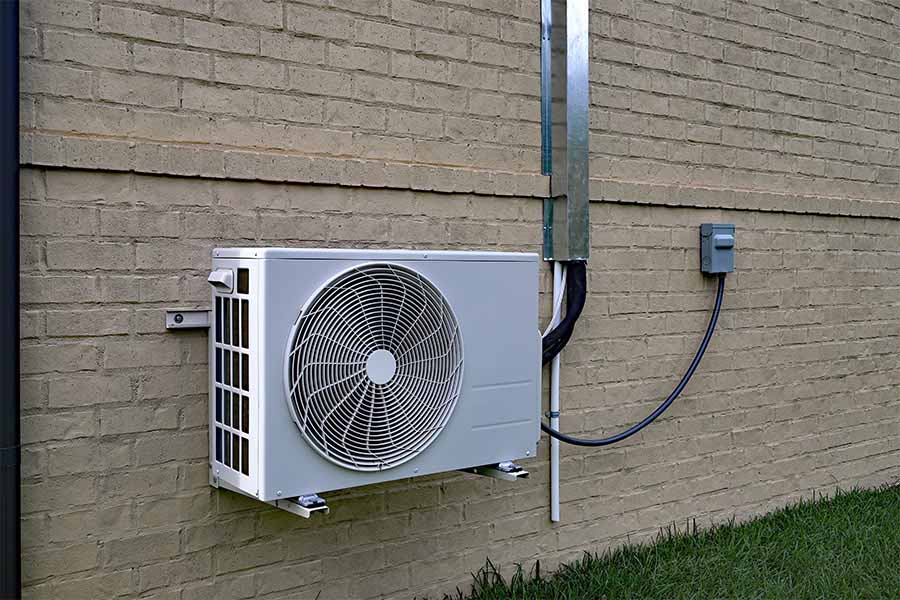
A ductless mini-split system consists of two primary components: a wall-mounted indoor air-handling unit and an outdoor condenser, connected by a conduit that carries refrigerant lines, electrical wiring, and a condensate drain. Unlike a central air conditioning system that relies on ductwork to distribute conditioned air throughout the home, a mini-split delivers heating or cooling directly to the room or zone where the indoor unit is installed.
During cooling mode, the system extracts heat from the indoor air and transfers it outside through the refrigerant cycle. In heating mode, that process reverses, pulling heat energy from the outside air and delivering it indoors. Most mini-split systems use inverter technology, which allows the compressor to modulate its output based on the actual demand at any given moment rather than cycling fully on and fully off. This approach is more energy-efficient than conventional cycling systems and results in more consistent temperatures in the conditioned space.
Multiple indoor units can be connected to a single outdoor condenser in a multi-zone configuration, allowing different rooms to be conditioned independently at different temperatures simultaneously.
Preparing Your Home for Mini Split Installation
A straightforward installation starts with good preparation, and there are practical steps homeowners can take before the technician arrives to keep the job on schedule and protect the home during the process.
- Clear the area where the indoor unit will be mounted, removing furniture, wall decorations, or any items that would restrict access to the wall and the space directly below it
- Confirm the planned outdoor unit location is accessible and free of landscaping, storage, or other obstructions that would need to be worked around
- Ensure the electrical panel is accessible for the technician to assess and connect the dedicated circuit that the system requires
- Secure pets in a room separate from the work area for the duration of the installation
- Communicate any specific preferences or concerns to the installation team before work begins, particularly around unit placement or aesthetic considerations
Working in homes across Indianapolis, from older two-stories near Meridian-Kessler to newer construction in Fishers and Carmel, our team finds that prepared homes consistently result in cleaner, faster, and more accurate installations.
The Step-by-Step Process of Mini Split Installation
Understanding the sequence of work helps homeowners know what to expect as the job progresses and makes it easier to follow along if questions arise.
- Site assessment: The technician confirms the planned locations for the indoor and outdoor units, evaluates the wall structure for mounting, identifies the best path for the connecting conduit, and verifies electrical capacity.
- Indoor unit mounting: Mounting hardware is secured to the wall, the indoor unit is installed, and the conduit penetration is made with care to minimize the opening size and ensure a clean finish.
- Conduit and line set installation: Refrigerant lines, electrical wiring, and the condensate drain line are run through the conduit between the indoor and outdoor units. The conduit is secured along the exterior of the home or routed internally where conditions allow.
- Outdoor unit installation: The condenser is mounted on a pad or wall bracket, connected to the line set and electrical supply, and secured to prevent movement or vibration.
- System evacuation and refrigerant charge: The technician pulls a vacuum on the refrigerant lines to remove moisture and air, then charges the system to the manufacturer’s specified level. This step directly affects long-term performance and efficiency.
- Testing and commissioning: The system is powered on and run through a series of operational checks. The technician verifies airflow, temperature output, drainage, and communication with the remote or thermostat before the job is considered complete.
- Homeowner walkthrough: Before leaving, the technician walks through system operation, filter maintenance, and remote control functions, and answers any questions about the new equipment.
Scheduling annual AC maintenance and tune-up service after installation is the best way to protect the investment and maintain peak performance over time.
Common Challenges During Installation and How to Overcome Them
Most mini-split installations proceed without significant complications, but a few situations come up regularly enough to be worth knowing about in advance.
- Limited or inconvenient wall space: Not every room has an ideal wall location for an indoor unit. When the obvious placement is obstructed or would result in poor air distribution, an experienced technician can evaluate alternative mounting heights, locations, or unit orientations to achieve the best outcome.
- Electrical compatibility: Mini-split systems require a dedicated circuit, and older Indianapolis homes may have panels that need evaluation or upgrading before the installation can proceed. Identifying this before installation day, rather than on it, prevents delays.
- Conduit routing: Running the line set between the indoor and outdoor units requires planning, particularly in homes where a clean, unobtrusive path is important. An experienced installer approaches this with the homeowner’s preferences in mind, not just the path of least resistance.
- Insulation around the wall penetration: The conduit opening must be properly sealed and insulated to prevent air infiltration and moisture issues. This is a detail that separates quality installations from rushed ones.
For Indianapolis homes where the mini-split is being added to supplement an existing system or condition a specific zone, having a team experienced in AC repair means any follow-up service needs are handled by technicians who already know your setup.
Post-Installation Tips for Optimal Performance and Maintenance
The work a homeowner does after installation has a real impact on how well the system performs and how long it lasts. A few consistent habits make a meaningful difference:
- Clean air filters monthly: Mini-split indoor units have washable filters that accumulate dust and restrict airflow over time. Monthly cleaning keeps airflow healthy and efficiency high. The process is simple, and the manufacturer’s instructions cover the specifics for each unit.
- Keep the outdoor unit clear: Leaves, grass clippings, and debris can accumulate around and on the condenser, restricting airflow and reducing efficiency. Periodic inspection and clearing of the area around the unit is a straightforward task with a real impact on performance.
- Monitor energy consumption: A sudden increase in operating costs without a corresponding change in usage patterns is often an early indicator of a developing issue. Catching it early through professional service is less expensive than addressing it after a failure.
- Schedule annual professional maintenance: A yearly inspection covers refrigerant levels, electrical connections, coil condition, and drainage, all of which affect long-term reliability. It is the single most effective way to protect the system after installation.
Air Today, Comfort Here to Stay
A well-installed ductless mini-split system delivers reliable, efficient comfort with minimal disruption to the home, and the installation process reflects that when performed by an experienced team. Kight’s Quality Air Conditioning & Heating Repair brings the planning, precision, and local knowledge to ensure your Indianapolis home gets the full benefit of this technology from day one. Contact our team today to schedule a consultation and take the first step toward targeted, efficient comfort in your home.